Alphacool Pump Connections & Tubing

Jp_508

New member
I have a few builds under my belt but this is my first attempt at custom water cooling & have a couple of questions.
Hope to get some answers from others who are more experienced.

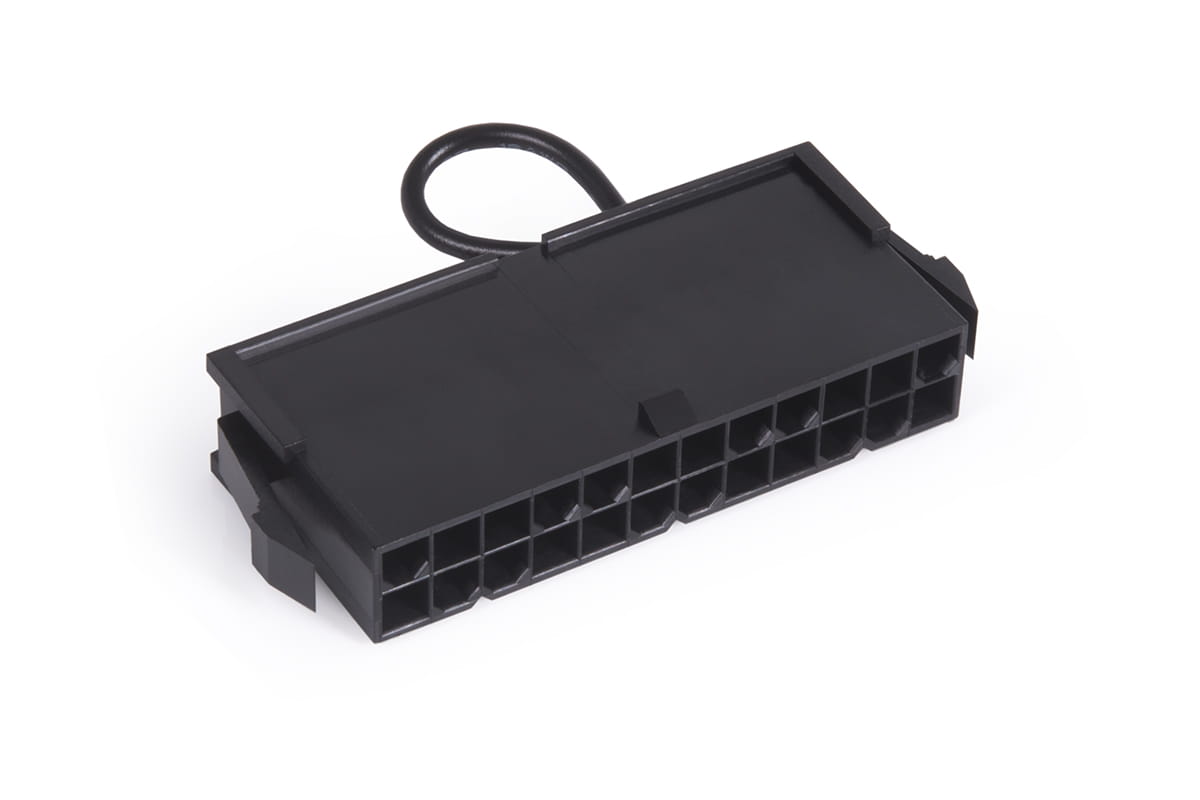
1. Purchased this pump & there are 2 connections in a braided cable that runs from the pump, one is a Sata connection
& the other is a 2 wire 4 pin connector, where does the 2 wire 4 pin connector attach to the motherboard? I would
assume the AIO pump header, however the guide-in slot on the back of this connector that would insert into the
motherboard connection is as wide as the 4 pin connector & the motherboard header guide-in slot is offset for a 4 pin
connector. The connector from the pump would accommodate the motherboard offset if it goes there. At first I thought
that the pump runs continuous & this was a led light connection but realized it wasn't because the pump comes with a
led strip that is separate. Can someone clarify so I have a better understanding?

2. I purchased tubing & a set of 6 connectors. Inside the box of connectors came quite a few extra O-Rings in 3 different
colors, not sure exactly where these go, (see image below).

Hope someone can help me here, thanks for reading my post.


Alphacool Pump (800).jpgAlphacool Connector (800).jpgAlphacool Tubing (800).jpg
 
The PWM plug with two leads is just tachometer wire and PWM. There is supposed to be a Pata plug for 12V. The o ring is for zylindrical threads (G1/4") only, not for the tubes. The bigger thread does not need to be water tight, it clamps the tube towards the fitting.
 

Jp_508

New member
The PWM plug with two leads is just tachometer wire and PWM. There is supposed to be a Pata plug for 12V. The o ring is for zylindrical threads (G1/4") only, not for the tubes. The bigger thread does not need to be water tight, it clamps the tube towards the fitting.
Thanks for your response. The connectors I have are Alphacool Eiszapfen 16/10mm compression fittings G1/4. If I read you right I need those because I have G 1/4", am I correct here? An if so where would they go?
 

Eddy

Iceman
Staff member
Pump
- SATA connector for power
- 4-Pin Connector for any 4-Pin PWM fan header for controlling the pump rpm like a fan. You can then control this via the bios or with any other fan controller.

Fitting
- That orange o-ring is only a replacement o-ring, you do not need it for connection.
- The hose should be pushed onto the connection as far as it will go. However, I would first screw the connections onto the radiator, expansion tank, etc. and then fit the hose. Otherwise you won't be able to screw on the fitting if the hose has already been attached at the other end.

1712730154976.png
 

Jp_508

New member
Pump
- SATA connector for power
- 4-Pin Connector for any 4-Pin PWM fan header for controlling the pump rpm like a fan. You can then control this via the bios or with any other fan controller.

Fitting
- That orange o-ring is only a replacement o-ring, you do not need it for connection.
- The hose should be pushed onto the connection as far as it will go. However, I would first screw the connections onto the radiator, expansion tank, etc. and then fit the hose. Otherwise you won't be able to screw on the fitting if the hose has already been attached at the other end.

View attachment 5973
Eddy - Thanks for responding. I just placed the tubing in place instead of inserting all the way for photo purposes. What was confusing is I read that you can add these to your build for decorative purposes, not that I'd want to, hence between collar & connector, but seems silly if it is for replacement for a damaged o-ring, no one is going to see it when in place.

As for tightening the connector how tight should it be before you damage the o-ring? Hand tightened only? I did purchase a leak tester so plan to pressure test before adding fluid. Which brings me to another question, how much pressure should be applied & for how long?
 

Eddy

Iceman
Staff member
The O-rings are included because many people use their connections over and over again. So unscrewing and screwing back into the coolers, radiators, etc. ..... can damage the O-ring at some point, which you can see when rebuilding. Then you have replacement O-rings to hand.

Always tighten by hand. Quietly with a little force, but not with brute force. Perform the pressure test at max. 0.8 bar. The most powerful pumps on the market do not generate more pressure than about 0.5 bar.
 

Jp_508

New member
The O-rings are included because many people use their connections over and over again. So unscrewing and screwing back into the coolers, radiators, etc. ..... can damage the O-ring at some point, which you can see when rebuilding. Then you have replacement O-rings to hand.

Always tighten by hand. Quietly with a little force, but not with brute force. Perform the pressure test at max. 0.8 bar. The most powerful pumps on the market do not generate more pressure than about 0.5 bar.
Great information, thanks for your insight, very much appreciated. As I go along other questions come to mind. I would like to run the loop before activating the pc & installing Windows 11, is it possible to activate the pump without turning on the pc? I want to fill the system before activation & run to make sure levels are good & bubbles are worked out. I was wondering because it gets its power from the Sata connection would it automatically come on once psu is switched on?
 

Vanzin

Support
Staff member
HI,

sure it is possible to start just the pump. For this you will need an external power supply or you have to bridge your installed power supply. When doing this, make sure, that you didn´t connect anything to the power supply beside the pump.
 
Top