You are using an out of date browser. It may not display this or other websites correctly.
You should upgrade or use an alternative browser.
You should upgrade or use an alternative browser.
Question about active backplate combine with AIO
- Thread starter arbiterfx
- Start date

Yes, the active backplate can be integrated into the AIO via the existing G1/4" connections. The easiest way is to use our extension sets with quick-release coupling:
 www.aquatuning.de
or
www.aquatuning.de
or
www.aquatuning.de
You still need coolant to fill it up with, such as

 www.aquatuning.de
Then you have everything! ;-)
www.aquatuning.de
Then you have everything! ;-)
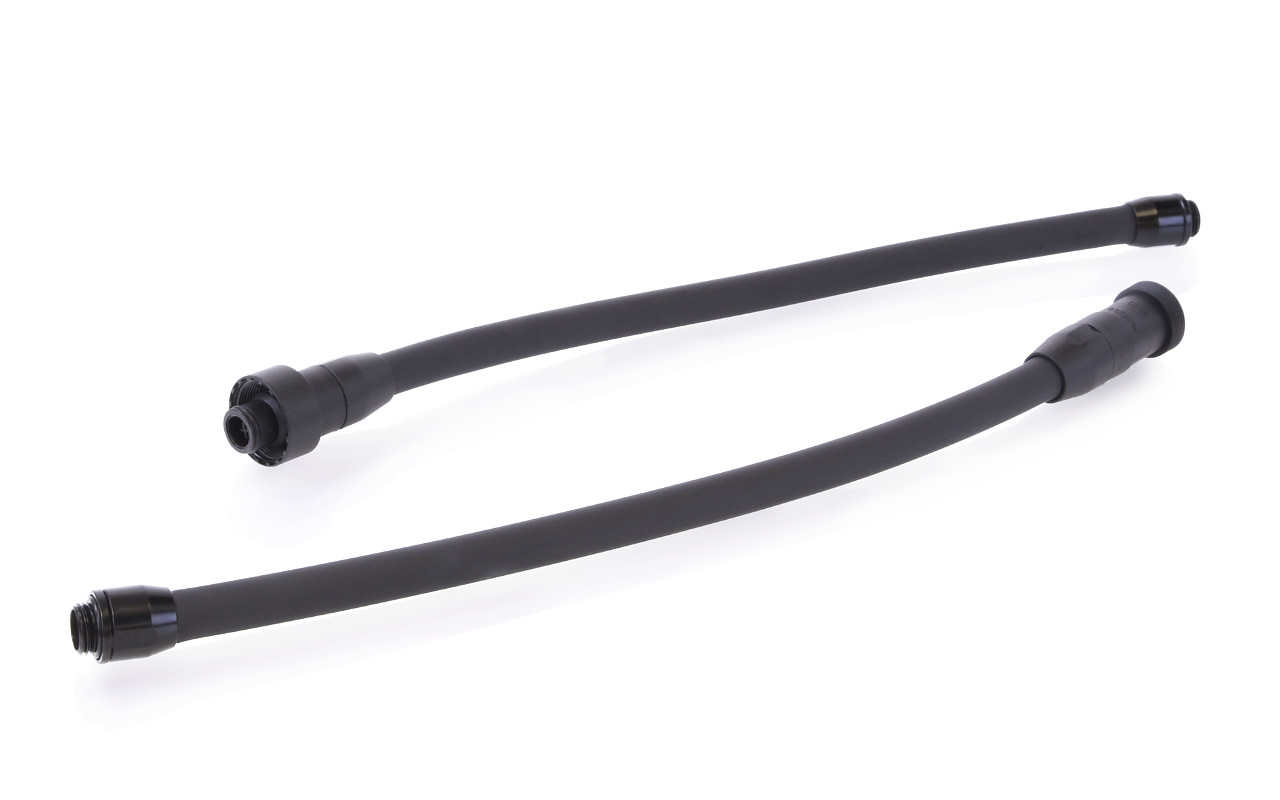
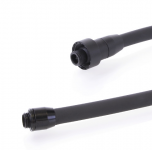
Alphacool Eisbaer TPV Extension Set (Schlauch und Anschlüsse)
Das Alphacool Eisbaer TPV Extension Set ist die einfachste Möglichkeit die erweiterbaren AIO Systeme von Alphacool mit weiteren Komponenten zu verbinden. Das Extension Set ist kompatibel zu allen Alphacool AIO Systemen für Prozessoren...
Alphacool Eisbaer TPV Extension Set 90° (Schlauch und Anschlüsse)
Das Alphacool Eisbaer TPV Extension Set 90° ist die einfachste Möglichkeit die erweiterbaren AIO Systeme von Alphacool mit weiteren Komponenten zu verbinden. Das Extension Set ist kompatibel zu allen Alphacool AIO Systeme für Prozessoren...
Kühlflüssigkeiten
Fertiggemische, Konzentrate und Farbzusätze für deine Wasserkühlung, wir bieten dir alles was du brauchst. Schau rein und lass dich überzeugen.
www.aquatuning.de
sman01
New member
hello,
I am new in watercooling. I have a similar question and please help me.
In my case, I bought Eiswolf 2 AIO - 360mm RTX 3090/3080 with Backplate (Reference), 11931
and I want to buy ( I read that it is compatible) : Eisblock Aurora GPX-N Acryl Active Backplate 3090/3080 Reference, 13038
My questions are:
1. Do I need to buy another accessories like pipes to connect two products?
2. I saw 2 reviews on YouTube with Eiswolf 2 AIO. The few drops that leaked when the pipes opened, need to be filled back in the AIO ?(with Tec Protect 2 Clear). Now, In this case, the water circuit increases. Do I need to complete the installation with liquid? and how/where?
LE: I forgot to mention, I have a roomy PC case
Thank you for any hint!
Last edited:
Hi,
Please have a look at my post before yours! ;-)1. Do I need to buy another accessories like pipes to connect two products?
You will definitely need more coolant! Among other thing is, you have to fill the active backplate ;-) Our Tec Protect 2 is well suited for this. You can fill the circuit at the fill port of the Eiswolf 2 radiator.I saw 2 reviews on YouTube with Eiswolf 2 AIO. The few drops that leaked when the pipes opened, need to be filled back in the AIO ?(with Tec Protect 2 Clear). Now, In this case, the water circuit increases. Do I need to complete the installation with liquid? and how/where?
sman01
New member
Hello again, I have a little more confusion:
where to connect the pipes (Alphacool Eisbaer TPV Extension kit) from the Active Backplate to the Eiswolf 2 AIO ?
here is pic with the Eiswolf 2 AIO:
Second question, after I connect them and fill the radiator with coolant, should I have a certain pressure in the circuit?
where to connect the pipes (Alphacool Eisbaer TPV Extension kit) from the Active Backplate to the Eiswolf 2 AIO ?
here is pic with the Eiswolf 2 AIO:
Second question, after I connect them and fill the radiator with coolant, should I have a certain pressure in the circuit?
Last edited:

-> with the aid of another extension set with quick-release coupling (see assembly example).
Output GPU->Input Backplate->Output Backplate->Radiator
The pressure builds up automatically during filling, but should not exceed 0.8 bar in the entire system.
sman01
New member
I understand the block diagram,
but here:
Thank you
but here:
it means I have to order extension set with quick-release coupling . Please, provide a link with this extension.with the aid of another extension set with quick-release coupling (see assembly example).
Thank you
Sure, here we go.. ;-)
www.aquatuning.de
or
www.aquatuning.de
... and you will need another bottle of coolant and a filling aid.
 www.aquatuning.de
 www.aquatuning.de
Sets und Systeme
Wir bieten ein umfangreiches Sortiment an AIO Systemen für CPUs und Grafikkarten. Außerdem komplette Wasserkühlungssets als Fertigsystem.
www.aquatuning.de
Alphacool Eisbaer TPV Extension Set 90° (Schlauch und Anschlüsse)
Das Alphacool Eisbaer TPV Extension Set 90° ist die einfachste Möglichkeit die erweiterbaren AIO Systeme von Alphacool mit weiteren Komponenten zu verbinden. Das Extension Set ist kompatibel zu allen Alphacool AIO Systeme für Prozessoren...
... and you will need another bottle of coolant and a filling aid.
Alphacool Tec Protect 2 Clear 1000ml
Jede Wasserkühlung benötigt Kühlflüssigkeit für den Wärmetransport. Mit der Alphacool Tec Protect 2 Clear Kühlflüssigkeit erhält man ein Fertiggemisch, das alle notwendigen Zusätze bereits enthält und direkt aus der Flasche verwendet...
Alphacool Spritzflasche Core 500ml
Mit Alphacool's praktischer Core 500ml Spritzflasche kann eine Wasserkühlung selbst im engsten System leicht, unkompliziert und exakt befüllt werden. Über das flexible und schmale Spritzrohr wird die Kühlflüssigkeit direkt in das...
")


The picture is an assembly example. We used icicle fittings and normal connections. You use the extensions I recommended in the same way and couple the active backplate between the radiator and the cooler. This is the quickest and easiest way.
sman01
New member
Got it now.
However, for new comers in waterblocks world, a video tutorial with installation instructions for Active Backplate and Eiswolf 2 AIO is welcome, to avoid confusion and help the alphacool community. At the moment, there is only one picture tutorial on the Internet, and is not accurate.
Thanks
However, for new comers in waterblocks world, a video tutorial with installation instructions for Active Backplate and Eiswolf 2 AIO is welcome, to avoid confusion and help the alphacool community. At the moment, there is only one picture tutorial on the Internet, and is not accurate.
Thanks